|
A flame drawing using coloured inks.
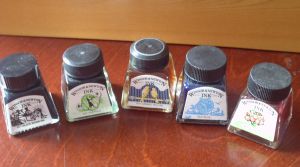
This flame drawing is done in Winsor and Newton ink with sable brushes 0 and 4 and a goat hair mop brush on Bristol Board. I used Emerald, Scarlett, Blue, Canary Yellow, Black and Brown. This tutorial on how to draw flames took me between five and six hours. The board will take diluted and undiluted ink well as long as I don't overdue diluted layers. There may be some buckling but it will usually dry flat. When using pure colour I usually take it straight from the bottle although this is a lazy habit that can add impurities to the ink. When mixing I use droppers and mix in a ceramic palette I got with a Chinese brush set. Watercolour palettes are quite suitable too. If you aren't sure about mixing make a note of how many drops of each colour you use when mixing. This way you will be able to mix the exact colour later or if you run out of the mixture. I dilute with water. Get yourself in the mindset of adding slow, controlled strokes. Everytime you add ink to the brush wipe excess on a sheet of paper. A fully loaded brush will be harder to control. On the flipside we want to avoid dry brush strokes. Take some time to practice this if you are unfamiliar with inks.
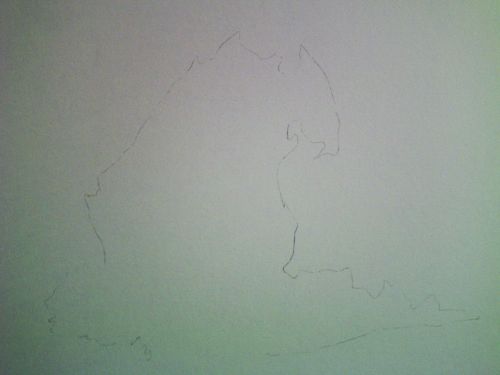
A selection of Winsor and Newton inks. 1. I start with a very simple shape drawn in HB pencil showing the outer edges of the flame drawing. I adjusted the photograph so you can see the pencil lines.
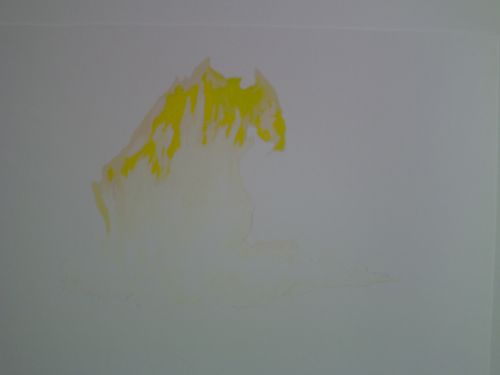
2. I apply diluted lemon yellow streaks in snake like patterns down the sketch. I add a drop of brown ink to the yellow and apply it around the upper parts of the flame drawing. I allow this to dry and then add another layer. When this is dry I add undiluted lemon yellow where the flames will burn brightest.
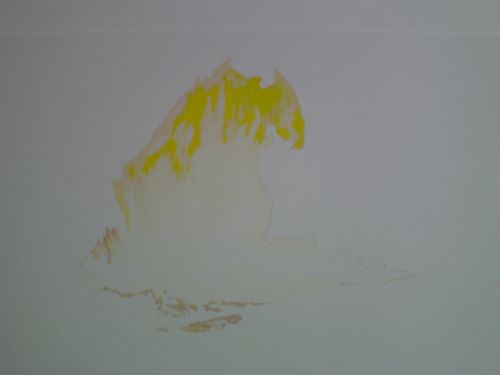
3. I mix brown with scarlett and apply it carefully to the edges on the lower left and bottom. I add yellow and apply it over the same areas. I mix in more yellow and water and apply further in. As I near the end of the brushstroke the ink runs out producing a faded look. Because I intended to use these exact colours I made sure I had mixed plenty.
4. I add browns, yellows and orange made from scarlett and yellow. I allowed it to dry and added three more layers of the same colours allowing each layer to dry before continuing. The yellow under the reds and oranges shows through making the colours appear more vibrant.
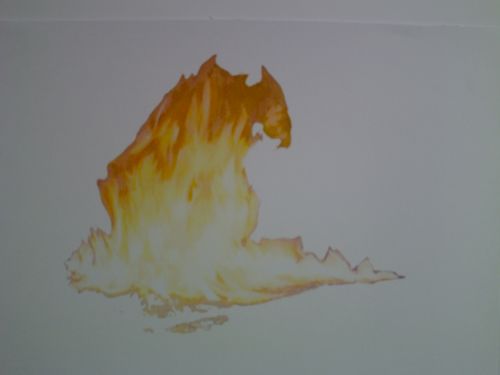
5. I add orange and brown to the top of the image, working my way down. The thing here is to aim to cover the colours already down with the same amount of layers. I add more yellow and orange to the main body of flames, continuing to work in the same snake like patterns. I add scarlett in four layers to redden the upper flames.
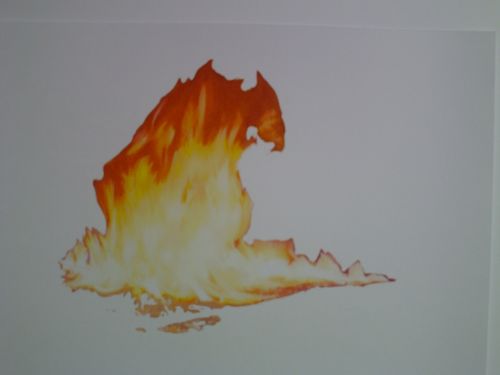
6. Time for contrast. The balance between the flame colours is pretty good. Now I'm going to make the fire appear very bright by adding a dark background. I take the two darkest colours red and brown and mix them in equal parts. I surround the flames with the ink working outwards. There is a slight gap between the dark and the flames. This is deliberate. I allowed the ink to dry and added another layer. Once this was dry I glazed a thin scarlett over the embers at the bottom of the flames.
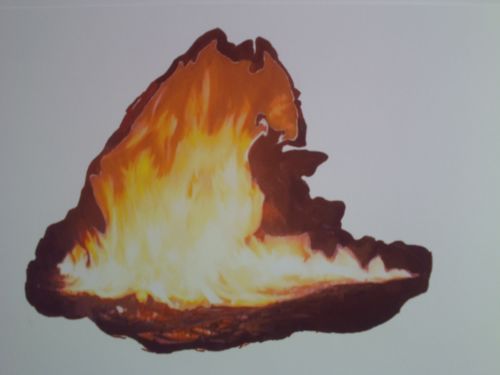
7. I darken the main body of the flames by adding a layer of each colour. Red over red, yellow over yellow and so on. Once dry I repeat this and after drying again I add orange made mixed for stage 4 over the yellow areas. I work the dark brown already used in stage 6 into the upper flames.
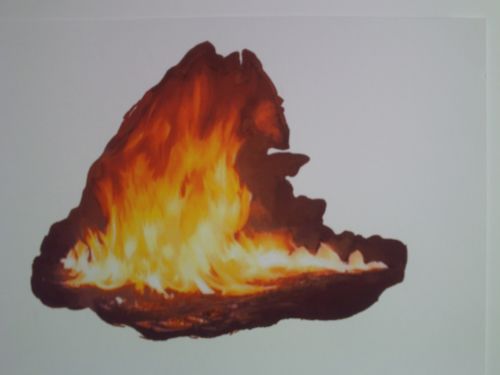
8. Now I add more scarlett to the brown in stage six and a little black and build up the background with a goat hair mop brush. The original dark area in stage 6 is glazed over along with the rest of the background. If you don't over work this area you'll get a nice transitional effect.
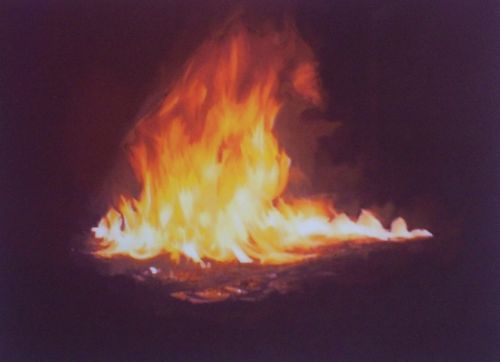
The flame drawing is simple but effective.
Return to Painting Flames from flame drawing. Home
|


