|
oil painting lessons #2 Painting from a photograph.
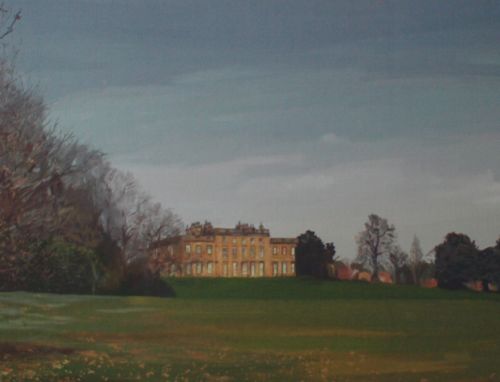
In this series of oil painting lessons I am taking you through various methods. Follow this link if you need any oil painting supplies This is how I completed a painting from a photograph, a landscape painting with a stately home as the point of interest. Anyone that knows me and my methods know that I am usually very cautious about using photographs to base paintings on. I've been challenged about this by many people and some users of this site so I'm going to first explain my reason for caution and then go on to show you how I used a photograph as the basis of a painting. First let me say that I do use photographic reference as an aid. A photograph can capture details about form and colour that I may not be able to hold in my head or have enough time to draw. My objections surrounding photos are mainly centred around drawing, especially where beginners and improvers are concerned. Photographs can easily distort and give false readings. Even pro photographers can struggle with this. Just bear that in mind and use photos ALONG with drawing and sketching from life where you can. I've come up with this tutorial called oil painting lessons-painting from a photograph. I hope you enjoy and get something from it.
oil painting lessons Stage 1 Take a look at this photo of a stately home. There are elements of it I like and think would make a good painting. The house (and something of its spirit) is what I am interested in depicting. The treeline to the right and bushes to the left are worth keeping as they frame and lead the eye to the house. All positives that I can confidently keep.
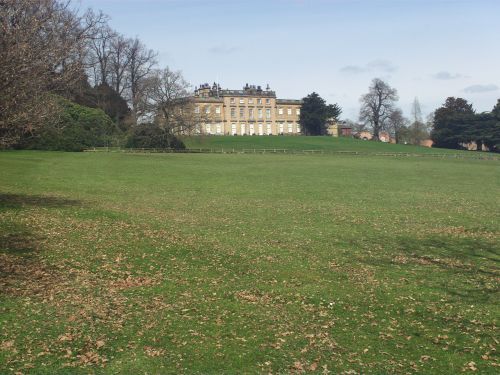
What about negatives? It shows an expanse of ground that is pretty overpowering so I decide to change that. The meagre sky is dull. I think enlarging it will show how standalone the building is, giving the dignity long dead architects and aristocrats originally planned. I will also add something to the sky, taking away its blandness but not ridiculously so otherwise the house will become a secondary element. The biggest problem I have is that the photograph is distorted. If I reproduced the house as shown it would lean backwards. Look at this close up.
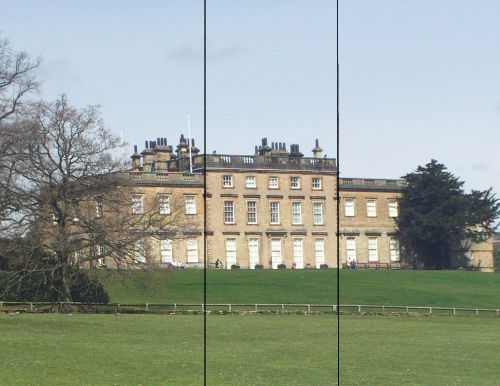
If you follow the lines you will see how the house is leaning backwards. It's old but believe me its in great condition. This is what I mean by distortion. Of course if you don't mind minor abstractions then this would be fine but that isn't generally what I do. It's easily fixed of course now we have spotted it. I will simply ensure that the house is straightened. Other than that I will drop the fence, which adds nothing to the overall atmosphere.
Materials. I paint on this daler rowney paper that's been hanging around my office for years.
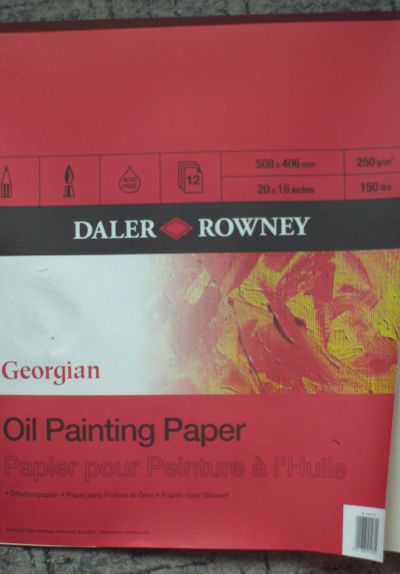
Paints are Winsor and Newton Artists oil Colours burnt umber, cobalt blue, titanium white, Cadmium deep red, cadmium yellow pale and Viridian thinned with turps and cadmium yellow cryla acrylic. Brushes are Winsor and Newton Artists Hogs Short Filbert - Size 6 and size 2. Round - size 2 and 6, Long Flat size 12 and Galeria Short Flat- Size 12 for the acrylic. HB pencil and a sheet of typing paper. oil painting lessons Stage 2-peparatory drawing. I sketch out the simple composition on typing paper with an HB pencil ensuring I straighten the house.
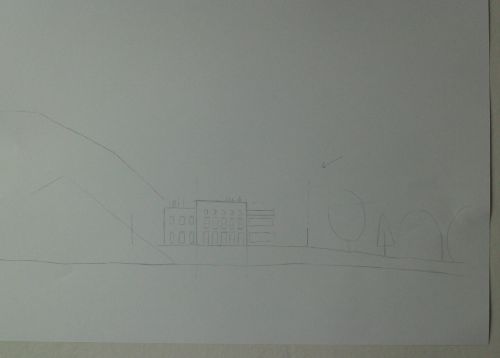
Then I use tracing paper to transfer the drawing to the canvas paper. oil painting lessons Stage 3-paint application I more often than not mix colours and lay them out ready for use but occasionally I just lay out colours and mix them as I go or allow them to mix on the surface. In this painting I did the latter, mainly because of the lack of detail I require. 1, I paint thin acrylic cadmium yellow across the paper. This dries quickly so I can get on with it. I often prime with acrylics for demos and greeting cards because it speeds things up somewhat. For commissioned paintings or personal work I use oil primers.
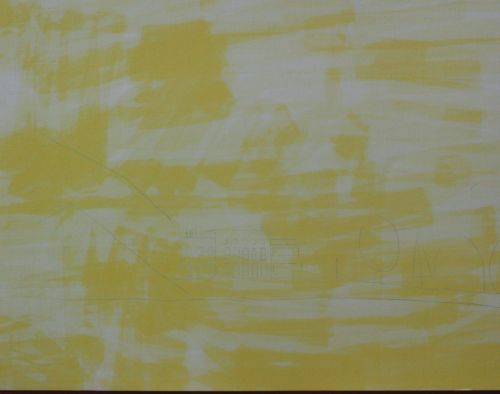
2, I use umber and viridian to block in some of the left hand bushes with the Filbert 6 and 2. I add a thin mix of cobalt blue and cadmium red across the sky with the Long Flat - Size 12 . I add less thinned pure viridian to the middle distance. Then I allow to touch dry.
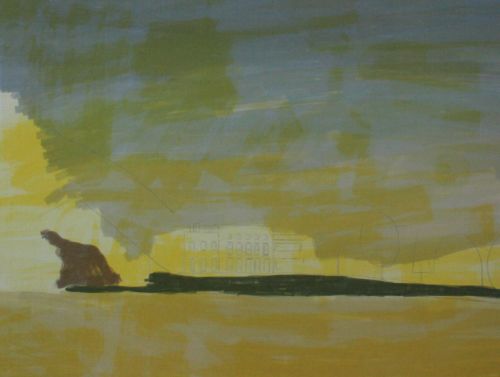
3, I use thicker versions of the same colours across the painted areas with Filbert 6 and 2 plus I begin to apply paint to the grass. I use streaks of viridian, umber and touches of white and work them into one another on the surface. This oil painting technique can produce great accidental effects.
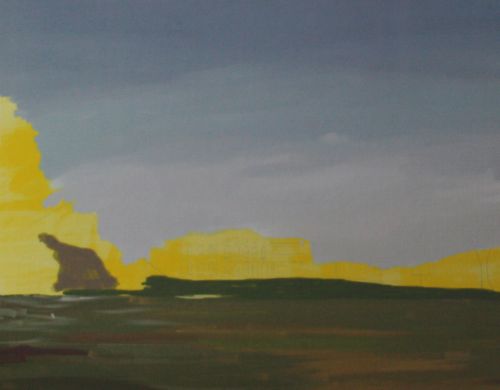
4, I work on the left side bushes and trees with umber, viridian and a little cobalt blue mixed with four fifths of white. This is painted slowly but loosely.
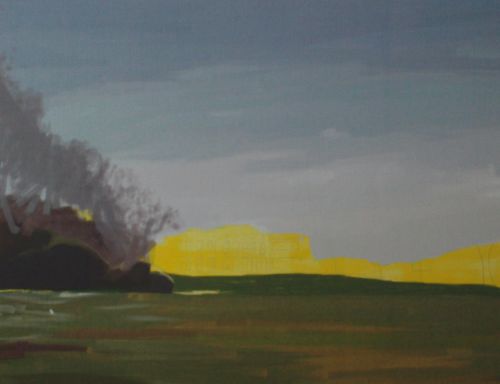
5, I paint in darker areas of the right side line of trees with viridian and umber with filbert 2 and round 2 for smaller strokes, varying the mixture between the two colours but with the same amount of turps regardless.
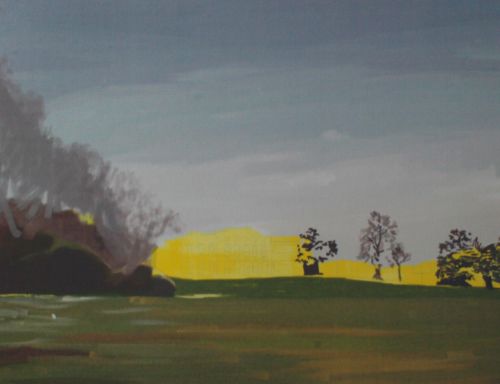
6, I use my yellow, red, viridian and umber to add depth to the trees and colour the outbuildings behind them. I also add broad details to the left bushes. Then rather stupidly I get carried away and draw in branches I should have left until after working on the house. It just goes to show even a twenty year veteran like me needs oil painting lessons.
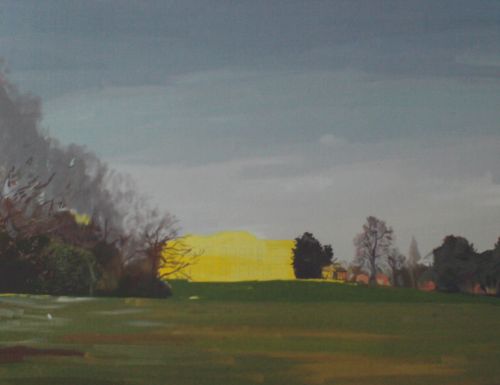
7, I continue to build up depth on the left and then tackle the house. I laid slabs of colour with the filbert 2 side by side and used the round 2 to add the windows. I thinned the paint slightly to get it moving. I had no intention of adding any further layers so I could have used the paint straight from the tube. The reason I didn't was so I could more easily meld the paint at the left side of the building (with the unwise branches). I dabbed around the branches indelicately so they would leave a smudgy impression.
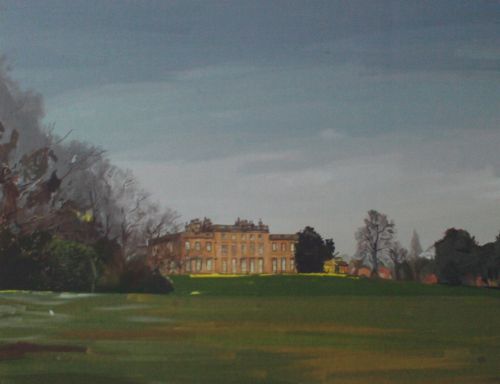
8, I add undiluted paint where the yellow is still showing through. I only want it to show through the thin sky and ground a little. This base colour helps to unify all the colours.
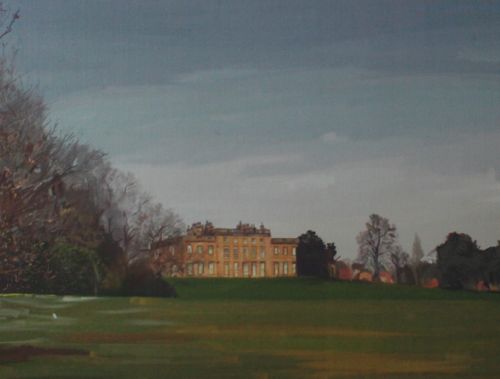
9, The final part of this particular tutorial is where I add dabs of yellow mixed with a little red and umber to the ground giving an impression of fallen autumn leaves.
Return to Oil painting lessons from oil-painting-lesson/Painting from a photograph. Home from oil painting lessons
|
Browse other gifts from Zazzle.


