|
Owl Drawings.
The two owl drawings below are quick and easy to do. You can make this bird drawing with anything you like but a soft pencil is a good choice when making sketches because of its flexibility when laying down tones and if you are drawing from life they are convenient to carry. 1. Start with the basic shape of the head and what we can see of the upper body.
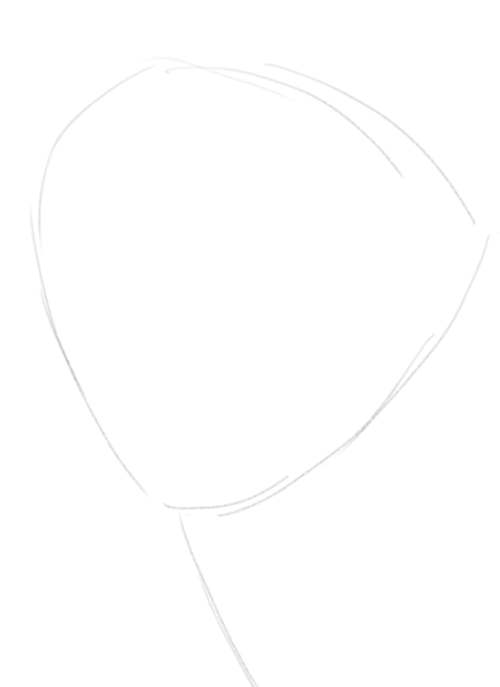
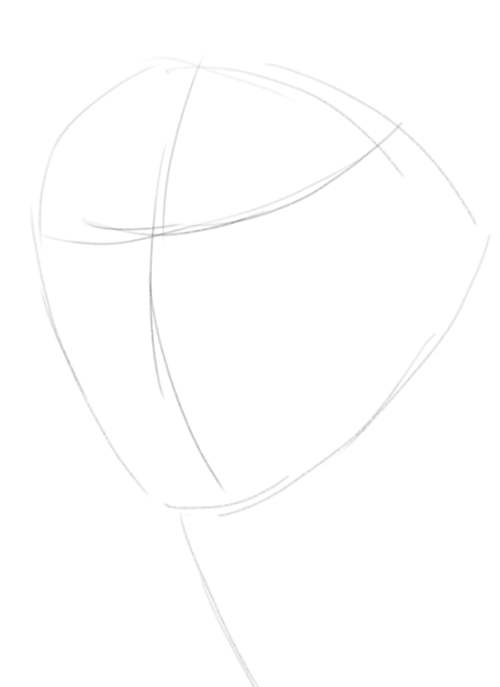
2. Divide the head as shown. This will show us where to place the eyes and beak.
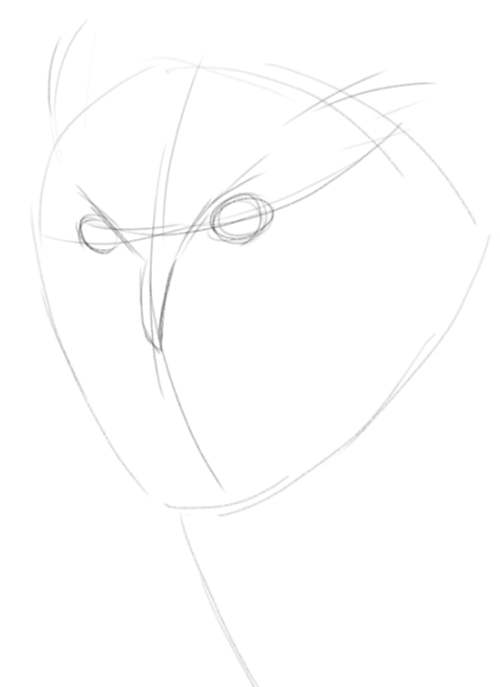
3. With quickly drawn lines we get energy in the owl drawing. I draw in the eyes with the characteristic "frown" that all raptors have. The beak is small unlike in eagles and their relatives. I also add a few lines for the feathers on the head.
4. I define the features with stronger lines. I draw the pupils. Owl eyes are fixed so they always look in one direction.
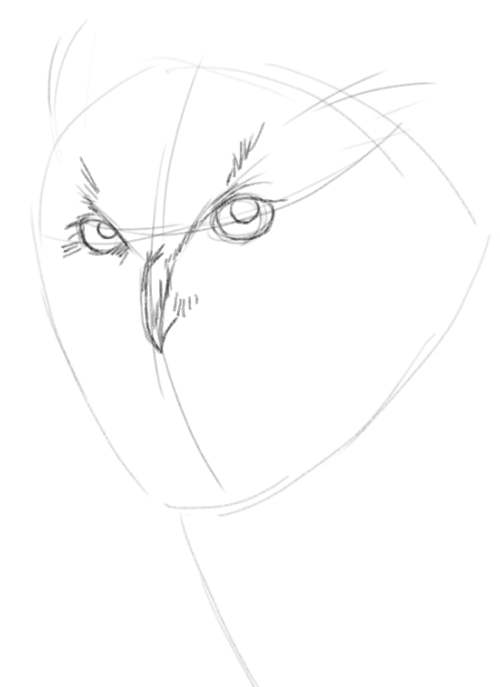
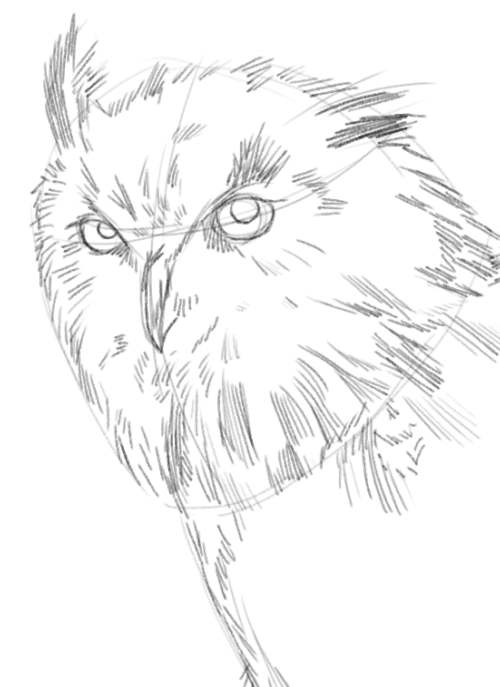
5. Now I add lines to give the appearance of form and feathers. The lines are very simple.
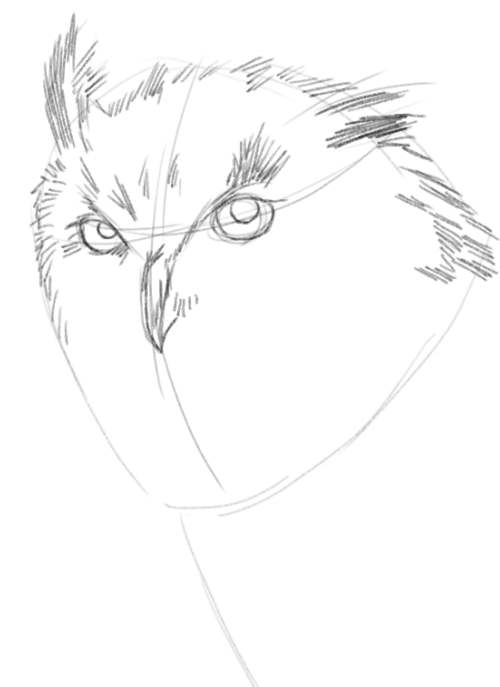
6. I carry on down the owl using the same drawing technique. The lines radiate from the centre.
1. Work in the same way. Basic shapes for the head and body.
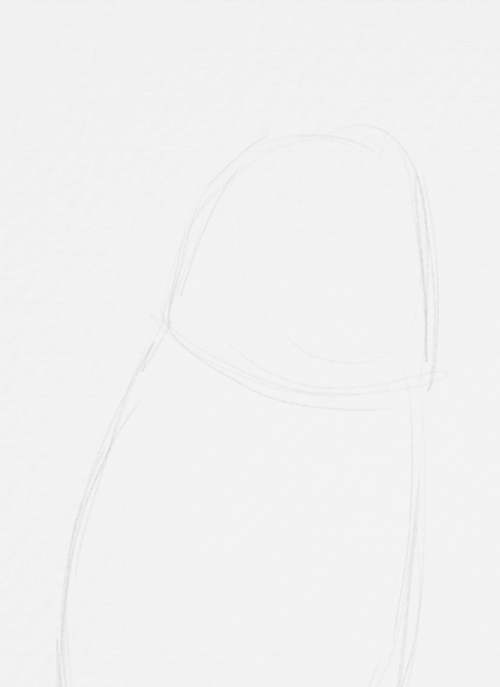
2. Divide the head vertically and horizontally.
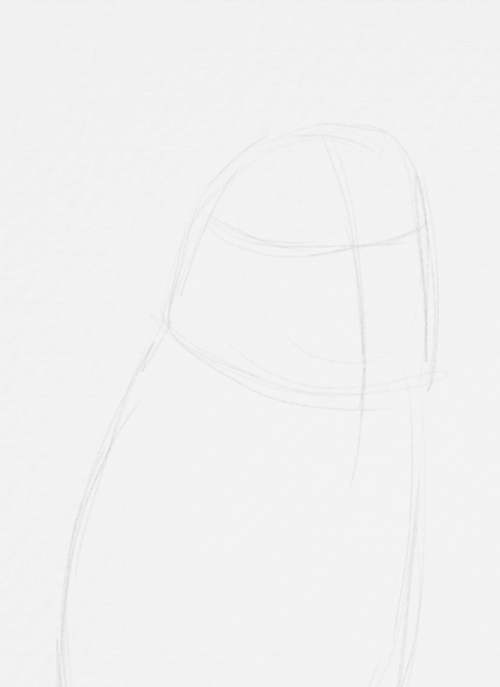
3. Now I draw the heart shaped face and place the facial features carefully using the guide lines.
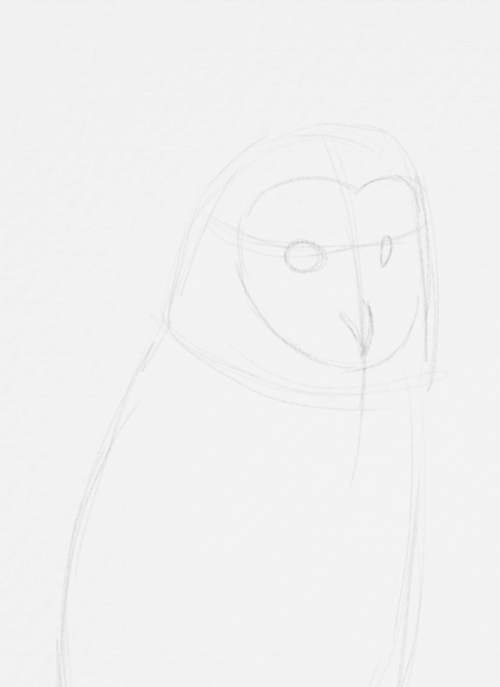
4. I draw the eyes in more detail and add tone to the beak.
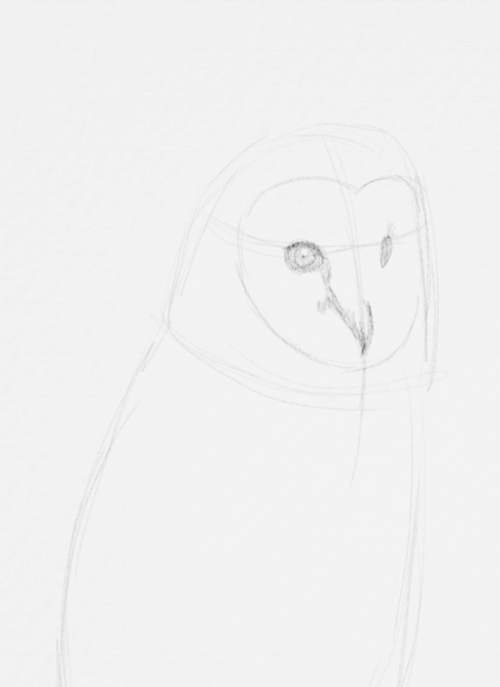
5. As in the first drawing I add tone through lines although somewhat more gently.
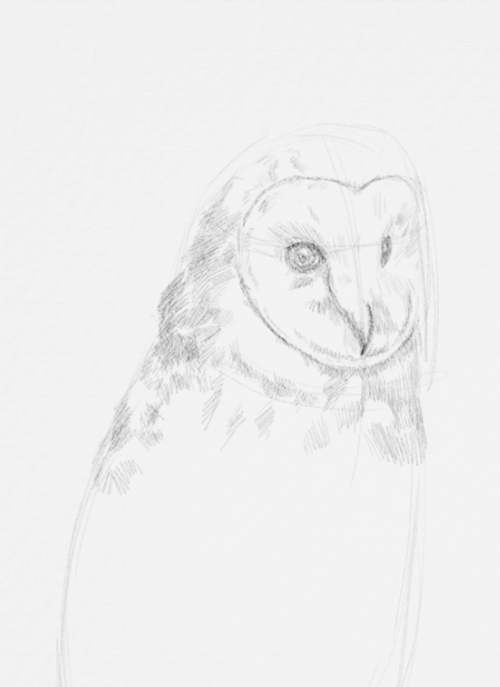
6. I work on the body of the bird in the same way adding tones.
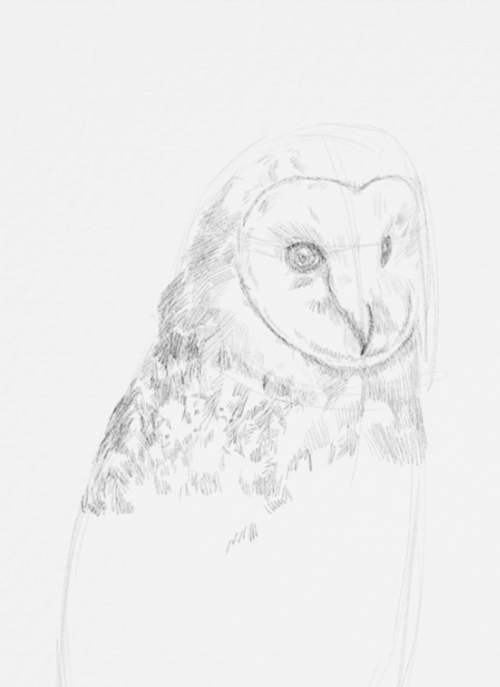
7. I work on the head. Note I don't work slavishly to the guide lines. You should always be prepared to redraw where necessary as you notice mistakes.
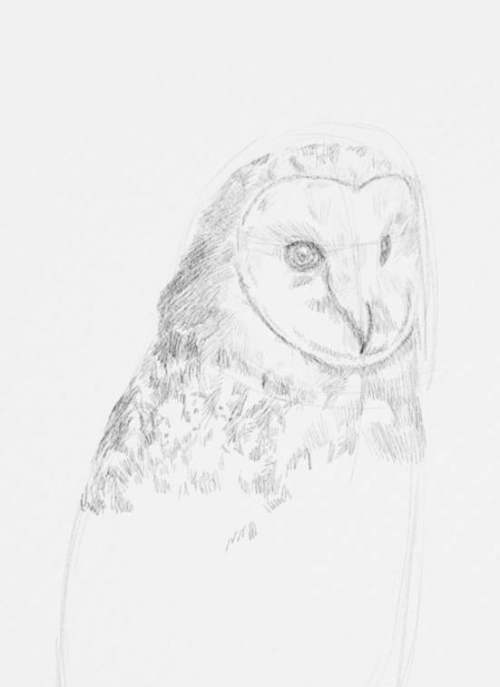
8. I add soft tones of lighter shades than before across the whole owl.
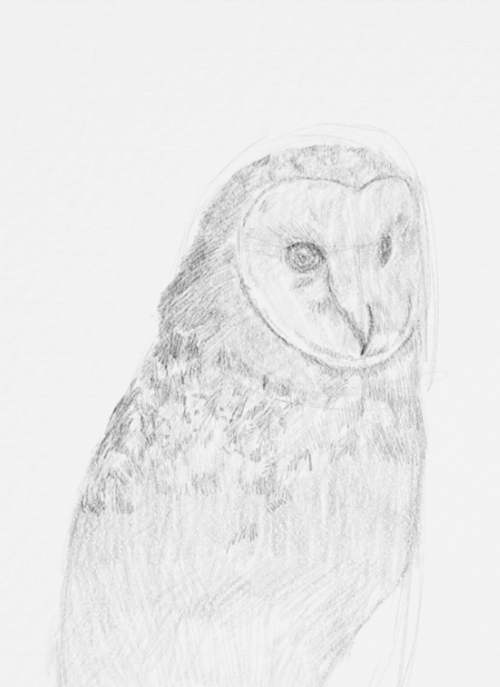
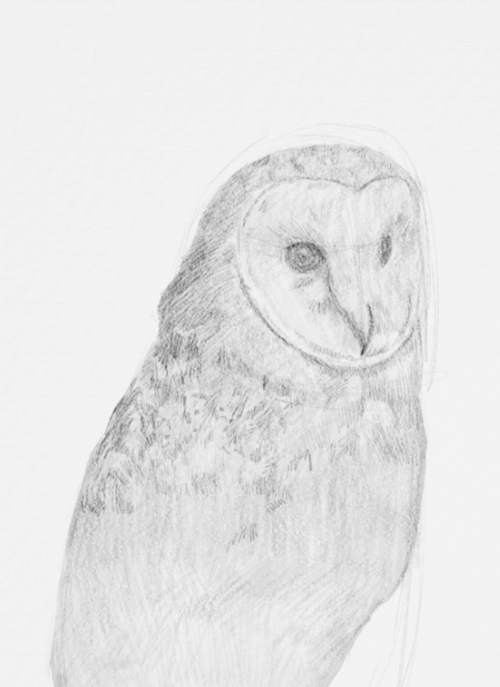
9. I add more until satisfied.
Return to
Drawing Animals from owl drawings
Home
|
Drawing Animals Ebook
Learn how to draw animals with this huge 486 page ebook.
Browse other gifts from Zazzle.


