|
Tiger Drawing
Tiger Drawing is very enjoyable. The beauty of tiger markings and sheer physical size makes it a popular choice for wildlife art. In this three in one free drawing lesson I will show you how to draw a tiger three ways. 1, a tiger's head, 2, a profile and 3, a tiger laying down but at the point when some unfortunate creature has caught its gaze and the tiger doesn't appreciate it. In these lessons I used typing paper with 2b and 4b pencils. 1, Draw a circle.

2, Split it down the middle either with a ruler or freehand.
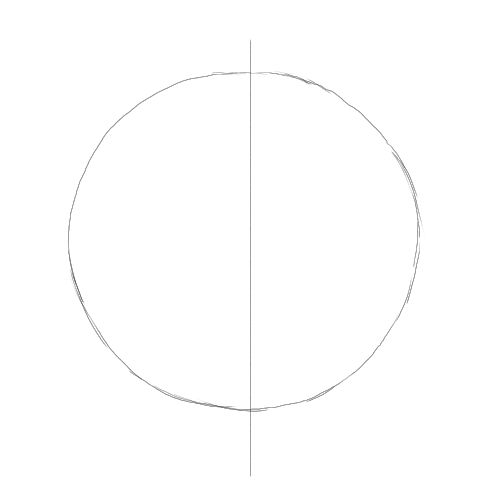
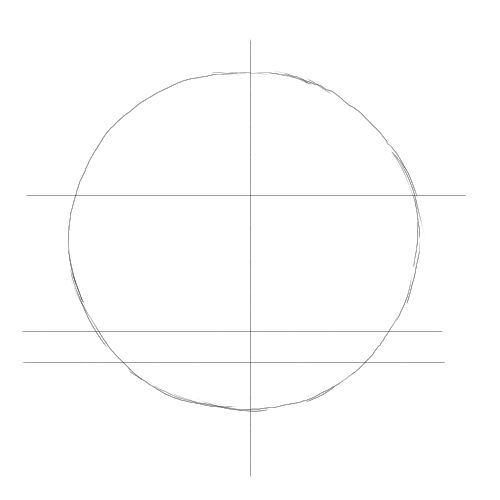
3, The eyeline goes about one third of the circle from the top. The nose and mouth are quite low because of the angle we are going to draw.
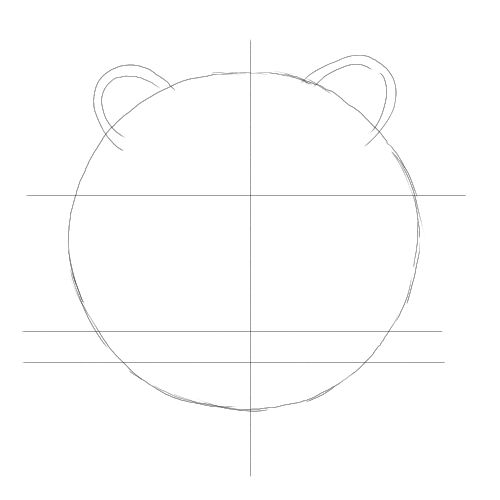
4, Draw two longish domes on both sides for the ears and you can draw two smaller domes within the first ones.
5, Copy my drawing. Take note of where the features are in relation to the guidelines.
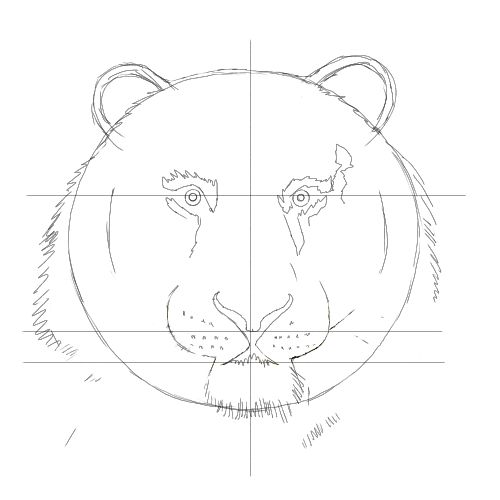
6, Stripes can be put on without worrying about the exact shapes because they are unique to each tiger and therefore unique to each tiger drawing.
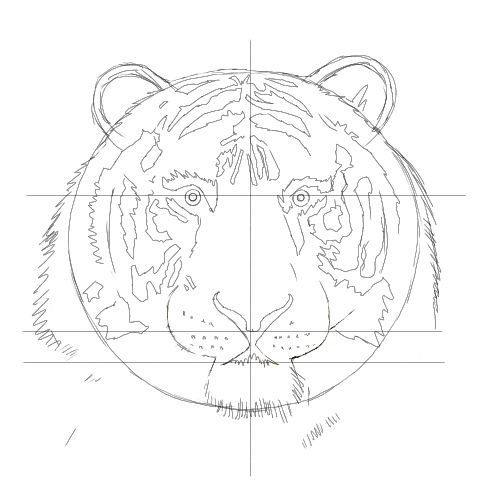
7, Take away the guidelines by either erasing them carefully or tracing on a separate piece of paper.
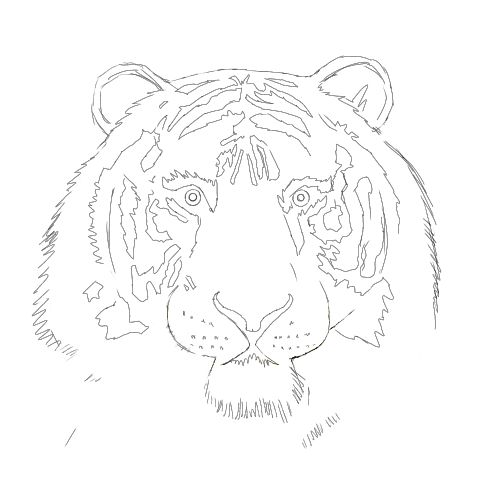
When satisfied with your tiger drawing move onto the next free drawing lesson.
1, Draw this bullet shape. This will dive you the neck.
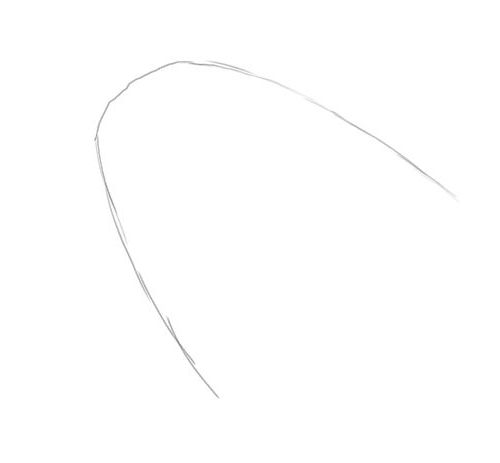
2, Draw a slightly curved line.
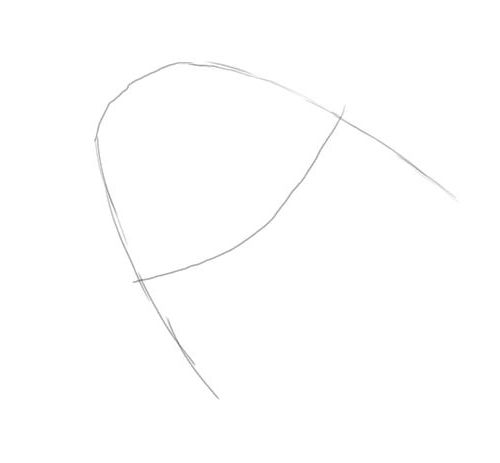
3, This is the eyeline.
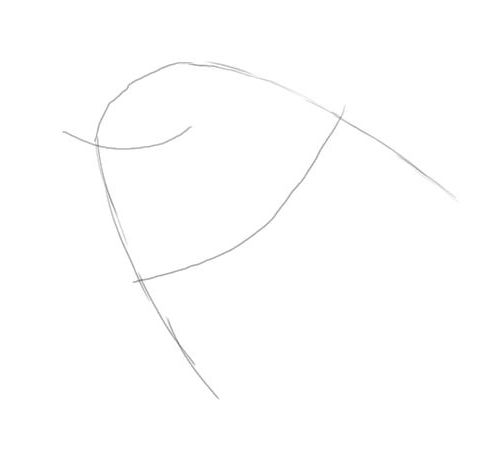
4, Take your time with this. You are basically drawing a box but note the edge that touches the eyeline is narrow compared to the other end of the box. Divide the front end of the box in three.
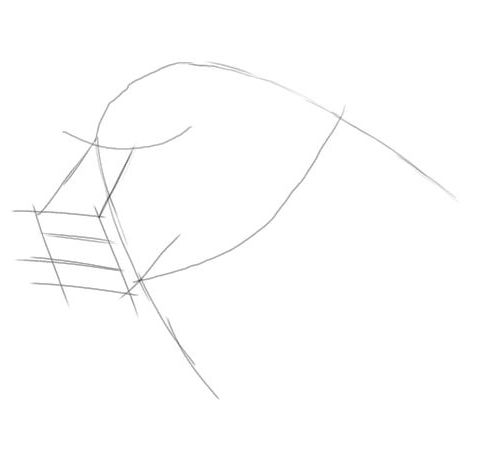
5, Sketch the ears and shoulder as illustrated. See the line that touches the box and reaches the shoulder. This is the front of the animal's neck. Now I am going to ask you to draw the entire head and stripes without any more advice from me.
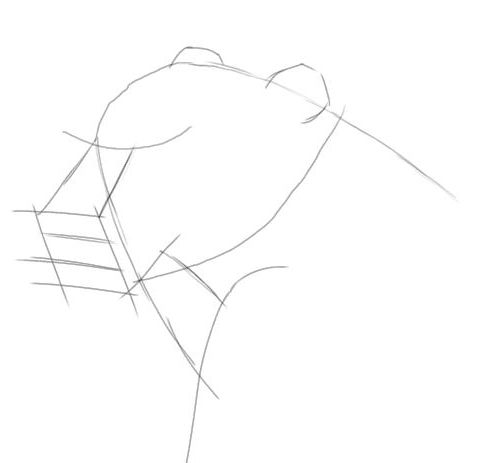
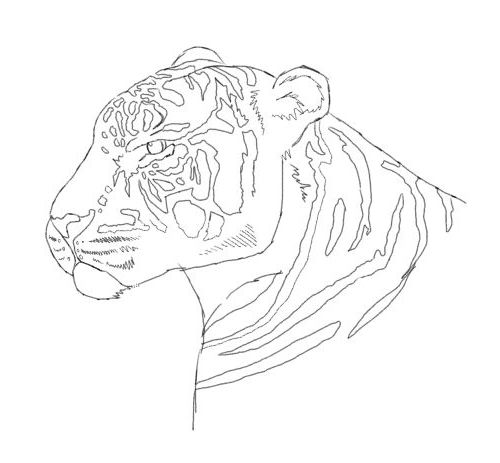
6, This is how you should use the guides to make your drawing.

7, Take away the guides and check your drawing. When happy move onto the last lesson.
Get this Ebook! Learn how to draw tigers and much more!
I will take you through this more complex drawing in detailed stages. 1, A circle.

2, A square that is a little wider than the circle. This will be the chest of your animal drawing.
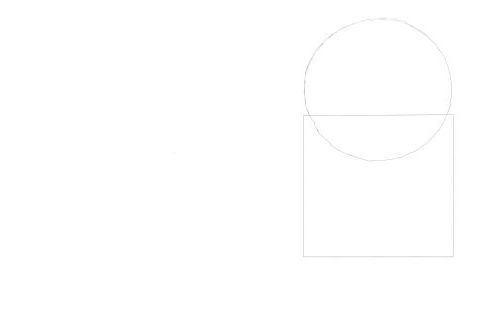
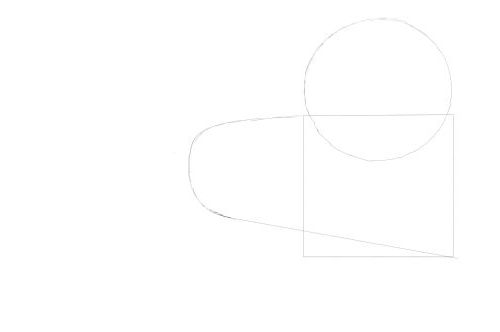
3, Now draw this curve. This shows us how the tiger is laid and determines the perspective of our tiger drawing. Animals obey the laws of perspective along with everything else we can see. In other words the tigers body gets smaller as it recedes into the distance.
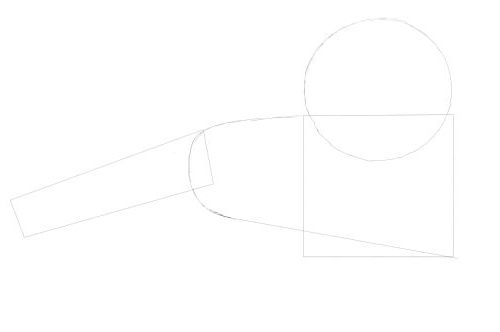
4, This rectangle is where the rear leg will go. The length is decided by the angle the leg lays and how close or far away the tiger holds it. Remember what I said on the Drawing Animals page? There is no straightforward way to use shapes when drawing. We have to use them intelligently.
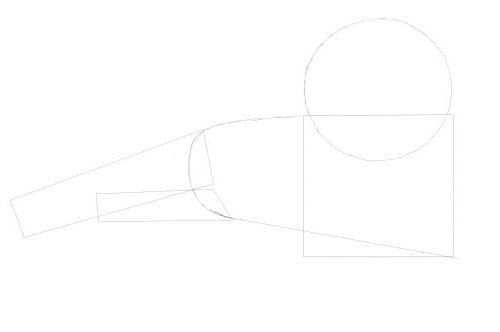
5, This leg is held partially under the tiger so we can only see a small part of it. Copy the shape as accurately as you can.
6, This curved line represents the tail. When animal drawing I encourage you to use this method. It is very easy to place a tail using a simple line like this.
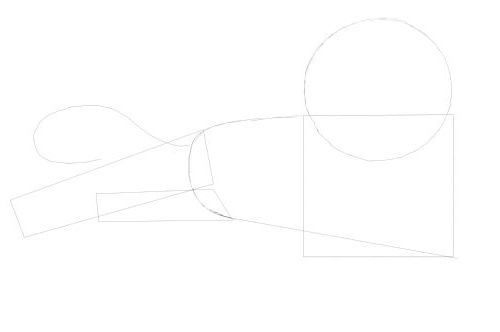
7, These loaf like shapes show us where to place the forelegs.
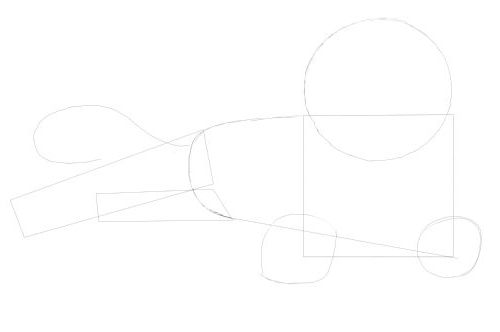
8, Paws.
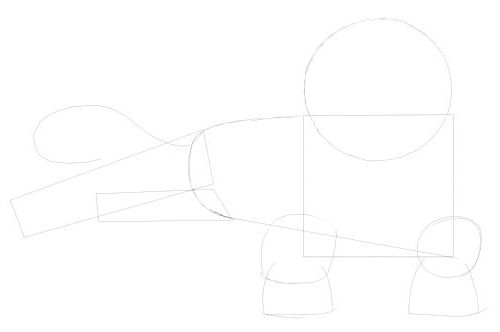
9, Copy these lines for the eyes and snout.
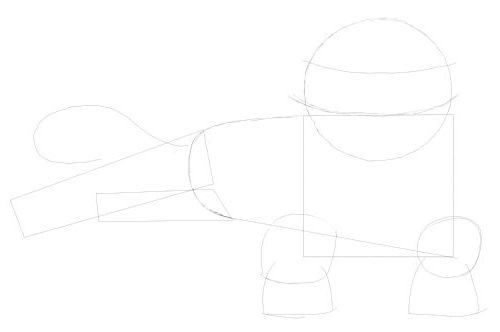
10, Two small triangles for the ears. Carefully note where they are on the circle.
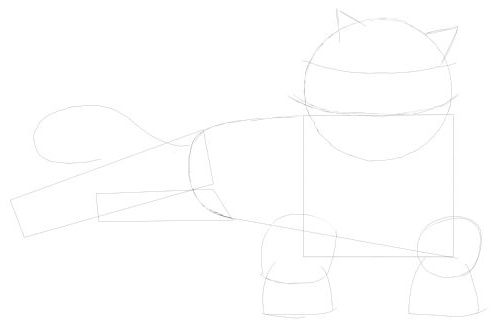
11, Draw a box from the eyeline to a little below the second line on our circle.
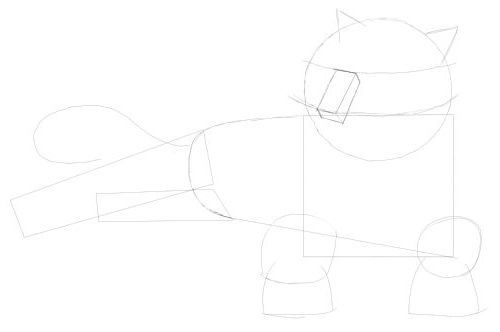
12, Draw this loose box shape. This will become the lower jaw.
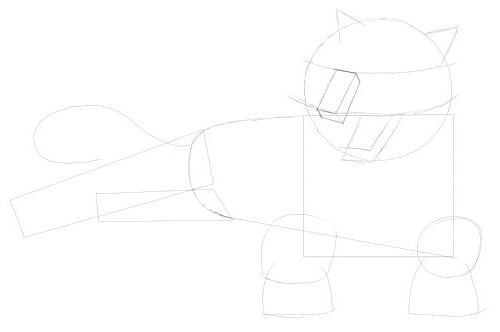
13, Now draw in the head. Copy my drawing using the guides.
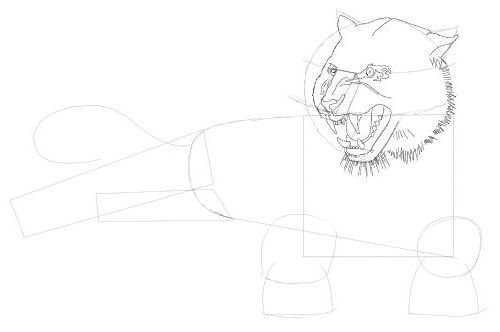
14, Now put in a few stripes.
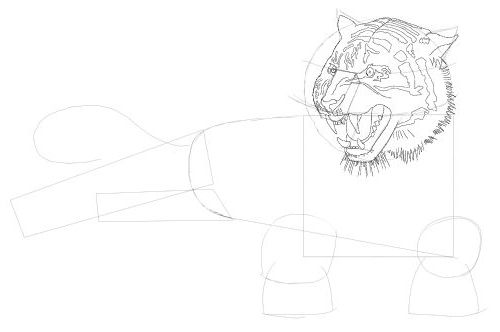
15, Carefully draw the body using the guides.

16, Add stripes.

17, Add whiskers which will be quite long. You can add them to the other side of the face if you aren't going to develop the drawing. In my case I traced the drawing onto marker paper to make a pen and ink drawing and because I went on to colour it I used a coloured ink to put in the missing whiskers.
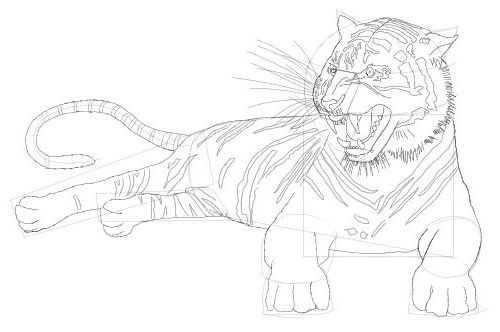
18, The final drawing without guides.

I hope you have enjoyed this tutorial on tiger drawing. It will give you the basics to go further with your wildlife art. Please take a look at my other free drawing lessons within from-sketch-to -oil-painting.com
Return from Tiger Drawing to Drawing Animals Home
|


