|
Wolf Drawing Tutorial
Wolf Drawing is a passion for many people. These animals are ferocious and yet demonstrate incredibly close family bonds that we identify with. This drawing lesson will concentrate on the form of the wolf. It is a great, first step that will enable you to create excellent drawings. Adding tone and colour will probably be your next challenge but for now we'll get you warmed up with these easy exercises. When learning how to draw a wolf I recommend breaking down your wolf drawing into shapes, but if you've already followed other lessons on from-sketch-to-oil-painting.com you will know that I do not advocate a straightforward ABC system of triangles and squares. If you want to create good drawings you have to work a little harder than that. Approach each drawing with fresh eyes. 1, Start with a simple circle for the head. 
2, Now draw an oval that lays beneath and to the right of the circle. It should bisect the circle as illustrated. 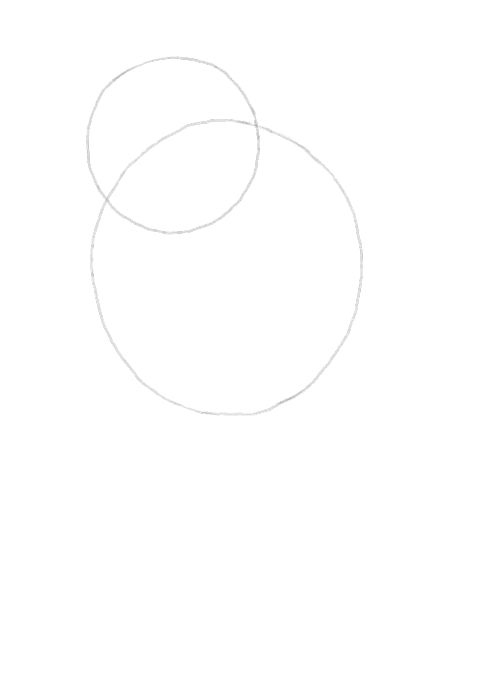
3, Because we're seeing our wolf from a three quarter angle we finish the body shape as shown. We can only see a little of the body to the right of the oval. 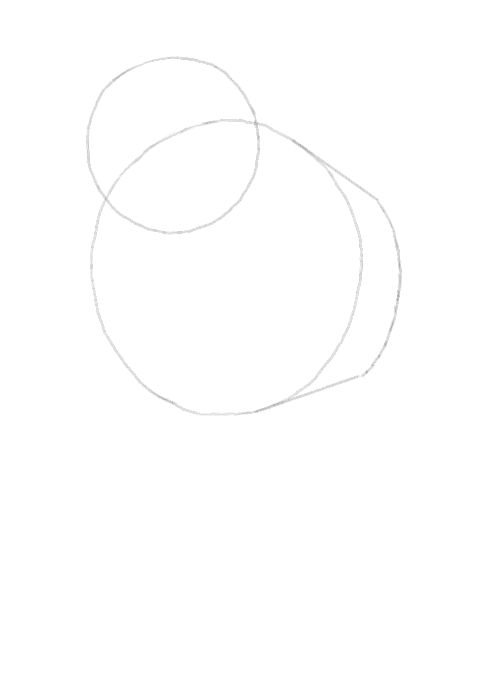
4, I want you to split the oval in two. 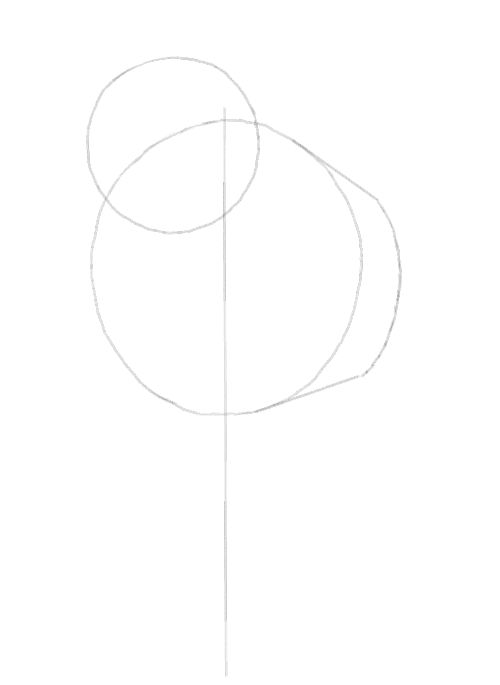
5, Now we are going to draw two long rectangles to guide us when drawing the front legs. See how the right hand rectangle is over the centreline we just made. This is because of the angle of the wolf's body. If you want to draw the wolf from the front we would site the rectangles at either side of the centreline and the circle over the oval. Try it after you have completed this lesson. 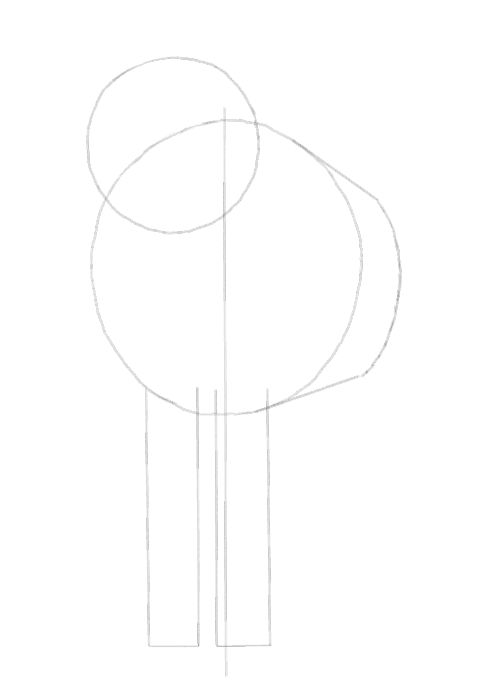
6, Get rid of the centreline. We do not need it anymore. 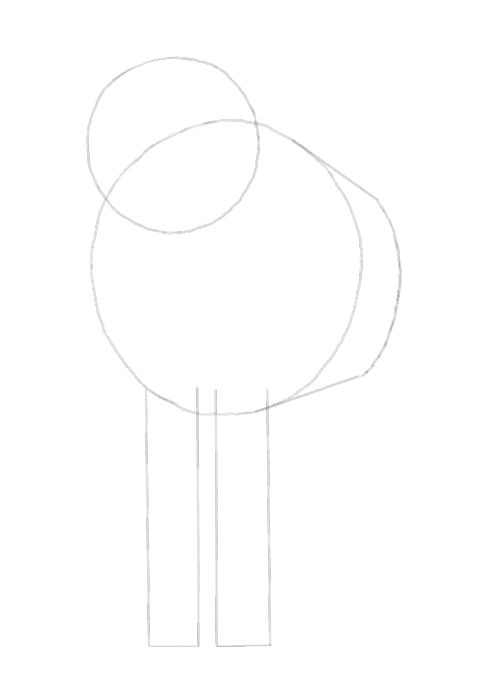
7, This is the back leg. It starts high on the body (roughly two thirds up) and ends at the same level as the front legs. 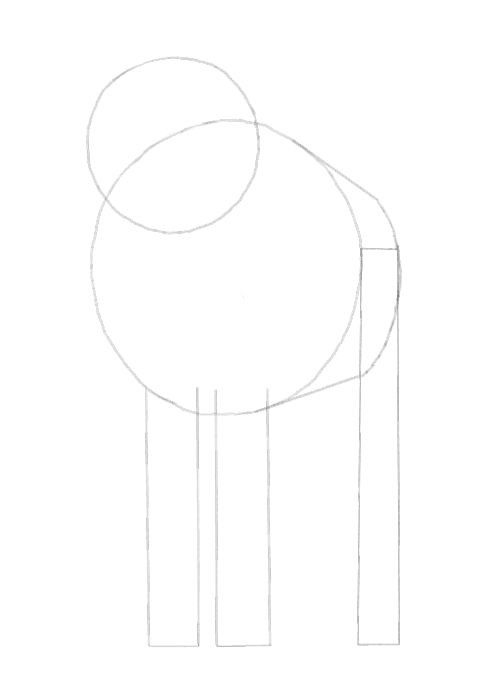
8, The other leg is almost hidden but we can see some of it. Your rectangle extends from the body almost to the level of the front legs. 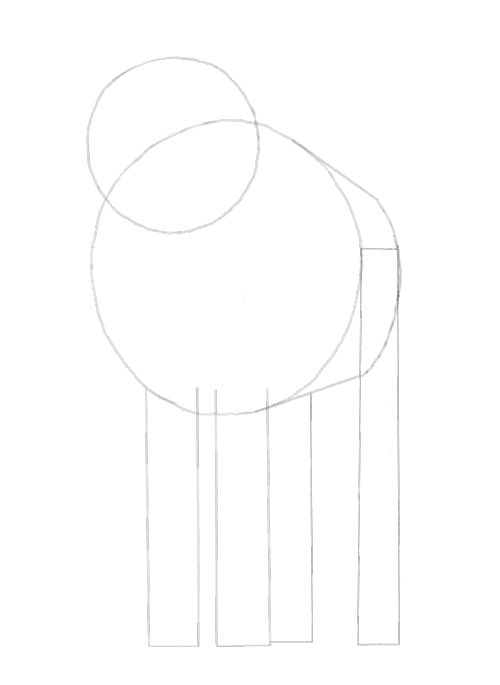
9, Draw an eyeline on the circle. It should be slightly above halfway. 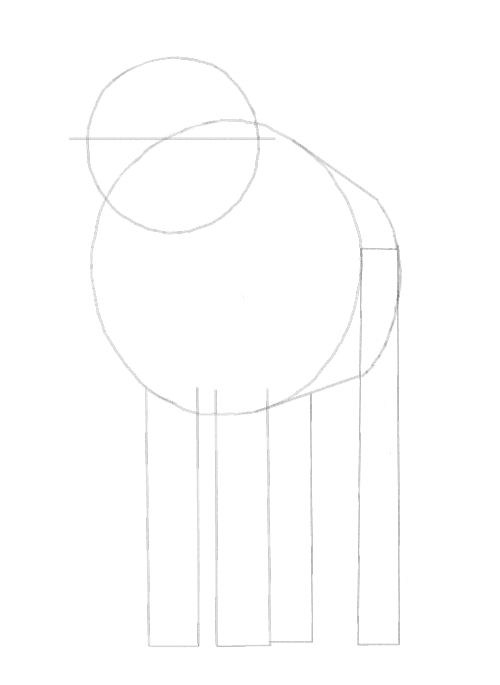
10, Split the circle in two. This will help you to decide where the eyes and ears go. 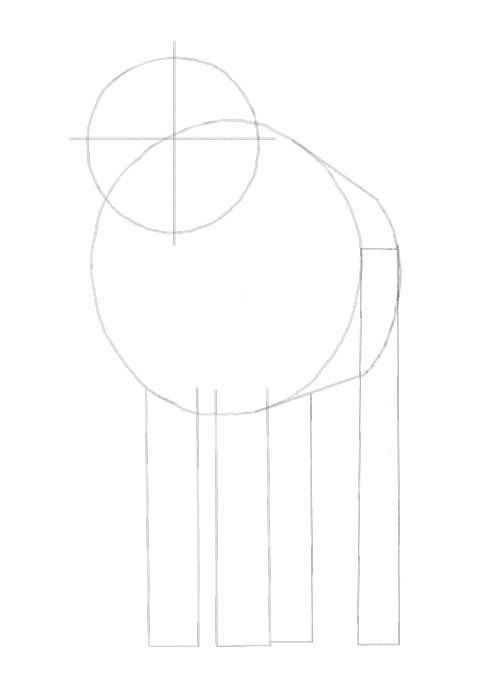
11, Place the nose and mouth lines at the bottom. The mouth will almost disappear from view because the wolf has lowered its head and is looking right at you. 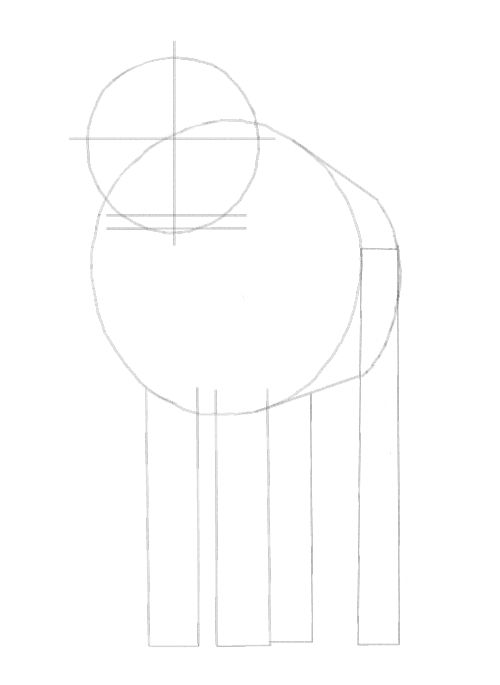
12. I am going to ask you to draw in the head without any other guidelines. My advice here is to decide where you want one eye to go and then mirror it on the other side. Same for the ears. The nose and mouth should go in last. I have suggested fur with jagged lines around the head. 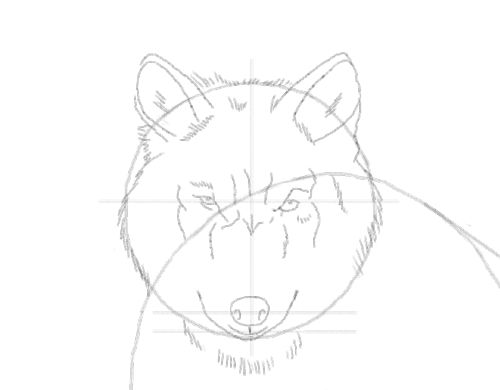
13, Now use the guides as I have done. They show me the length of the limbs but I make my own decision on the shapes of the feet etc. 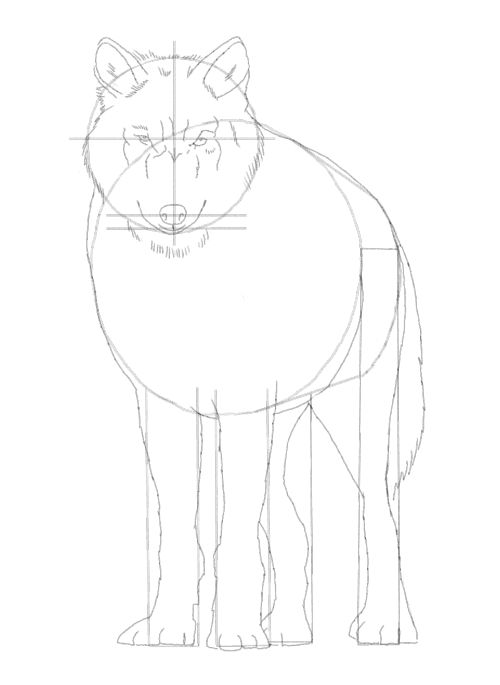
14, The wolf drawing without guides. 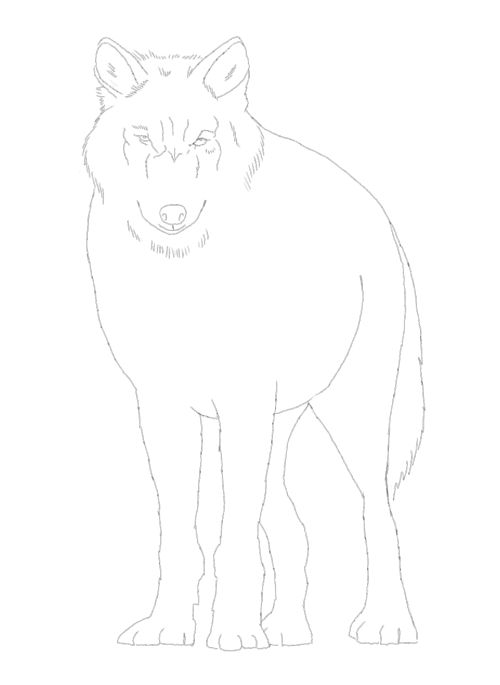
In the next exercise we will learn to draw a wolf body from the side. I have made it snarl. I think you'll enjoy drawing it that way. 1, A little dome with a rounded base. 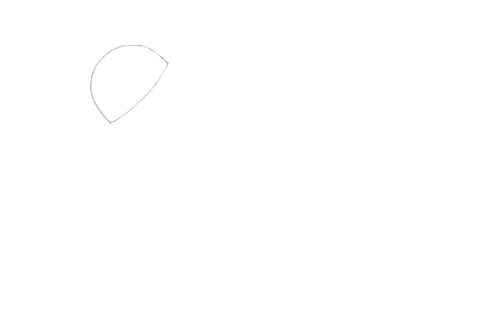
2, The snout is almost a square. 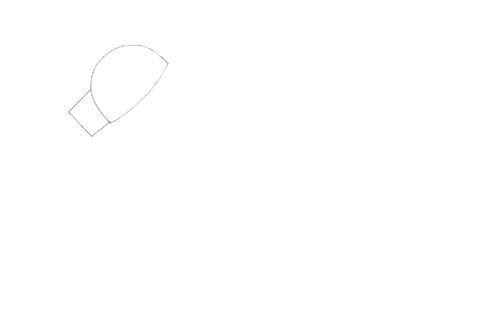
3, This is the neck. 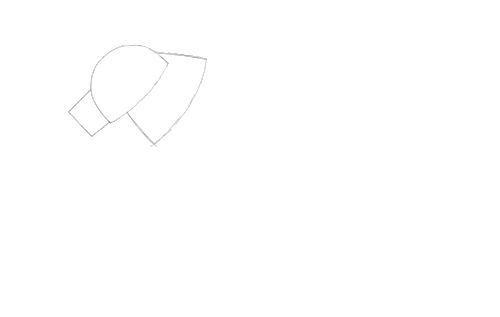
4, This lozenge is about twice the length of the first three shapes in total. 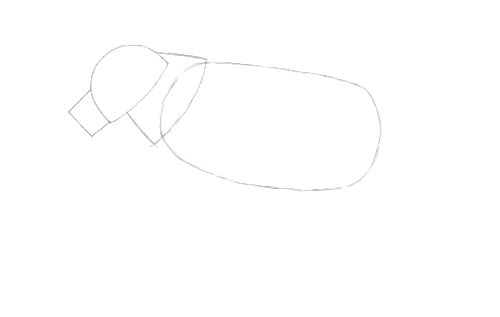
5, Two diamonds show us where the upper back legs are. 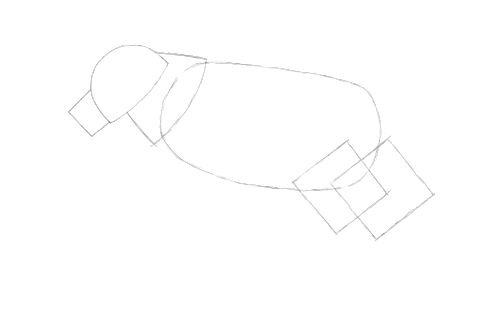
6, The lower legs are two rectangles. 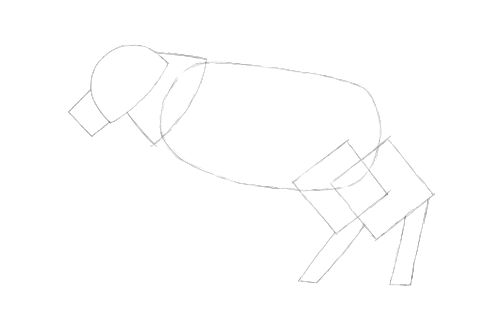
7, The front legs are thicker at the top and straighter than the rear legs. 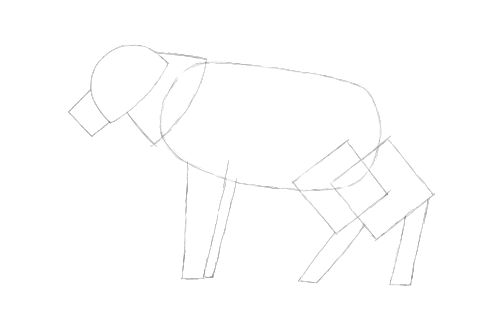
8, Use the upper corner of the snout to draw a curving line. This is the eyeline. 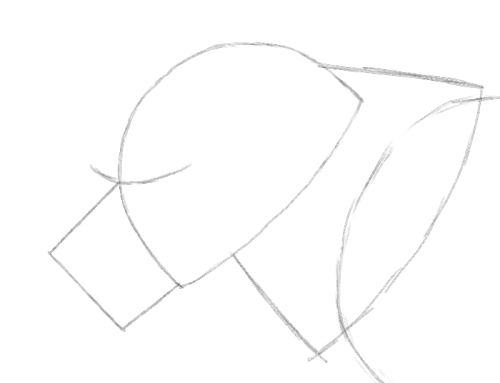
9, Draw the head. You can draw in triangles where you want the ears to go if you wish. Draw section by section. Treat the snout and head like two separate drawings. This will help, especially if you are a beginner. 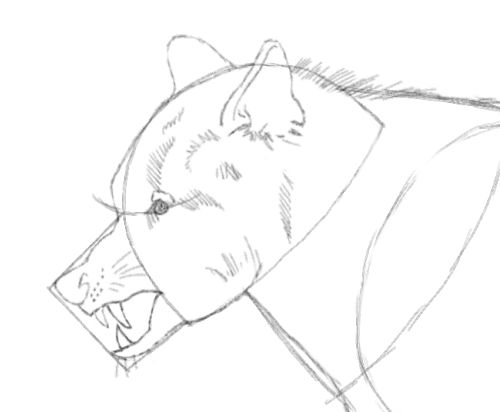
10, Do the same here. Work each section separately until your wolf drawing is completed. 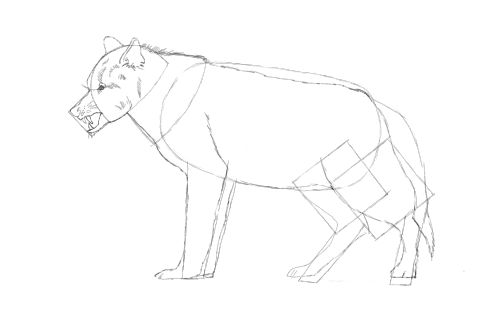
11, Finished! 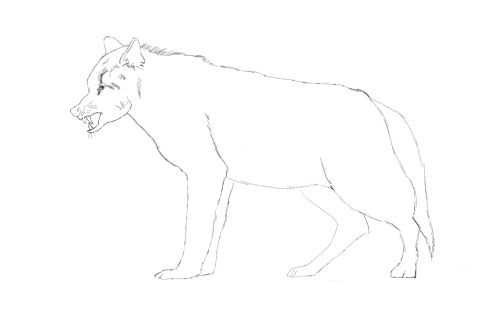
Return from Wolf Drawing to Drawing Animals Home
|
Drawing Animals Ebook
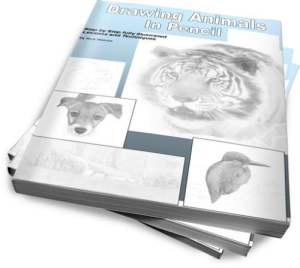
Learn how to draw animals in pencil with this huge 486 page ebook.
Or ask SBI directly how they can help you build a high traffic, highly profitable online business. Find Success with SBI!


